Install R and RStudio

In this tutorial, you will learn how to install R and RStudio, the two essential tools for working with GIS and Remote Sensing in R.


Step 1: Download R

R is the programming language we will use throughout these tutorials.

  1. Go to the official R website: https://cran.r-project.org.
  2. Choose your operating system:
    • Windows: Click “Download R for Windows” → “base” → download the installer.
    • macOS: Click “Download R for macOS” → choose the latest .pkg file.
    • Linux: Follow the instructions for your distribution (Ubuntu, Fedora, etc.).
  3. Run the installer and follow the default options.

Step 2: Download RStudio

RStudio is an Integrated Development Environment (IDE) that makes working with R easier. To install RStudio:

  1. Visit https://posit.co/download/rstudio-desktop/.
  2. Download the free RStudio Desktop version for your operating system.
  3. Install RStudio using the default settings.

Step 3: Verify Installation

  1. Open RStudio.

RStudio GUI
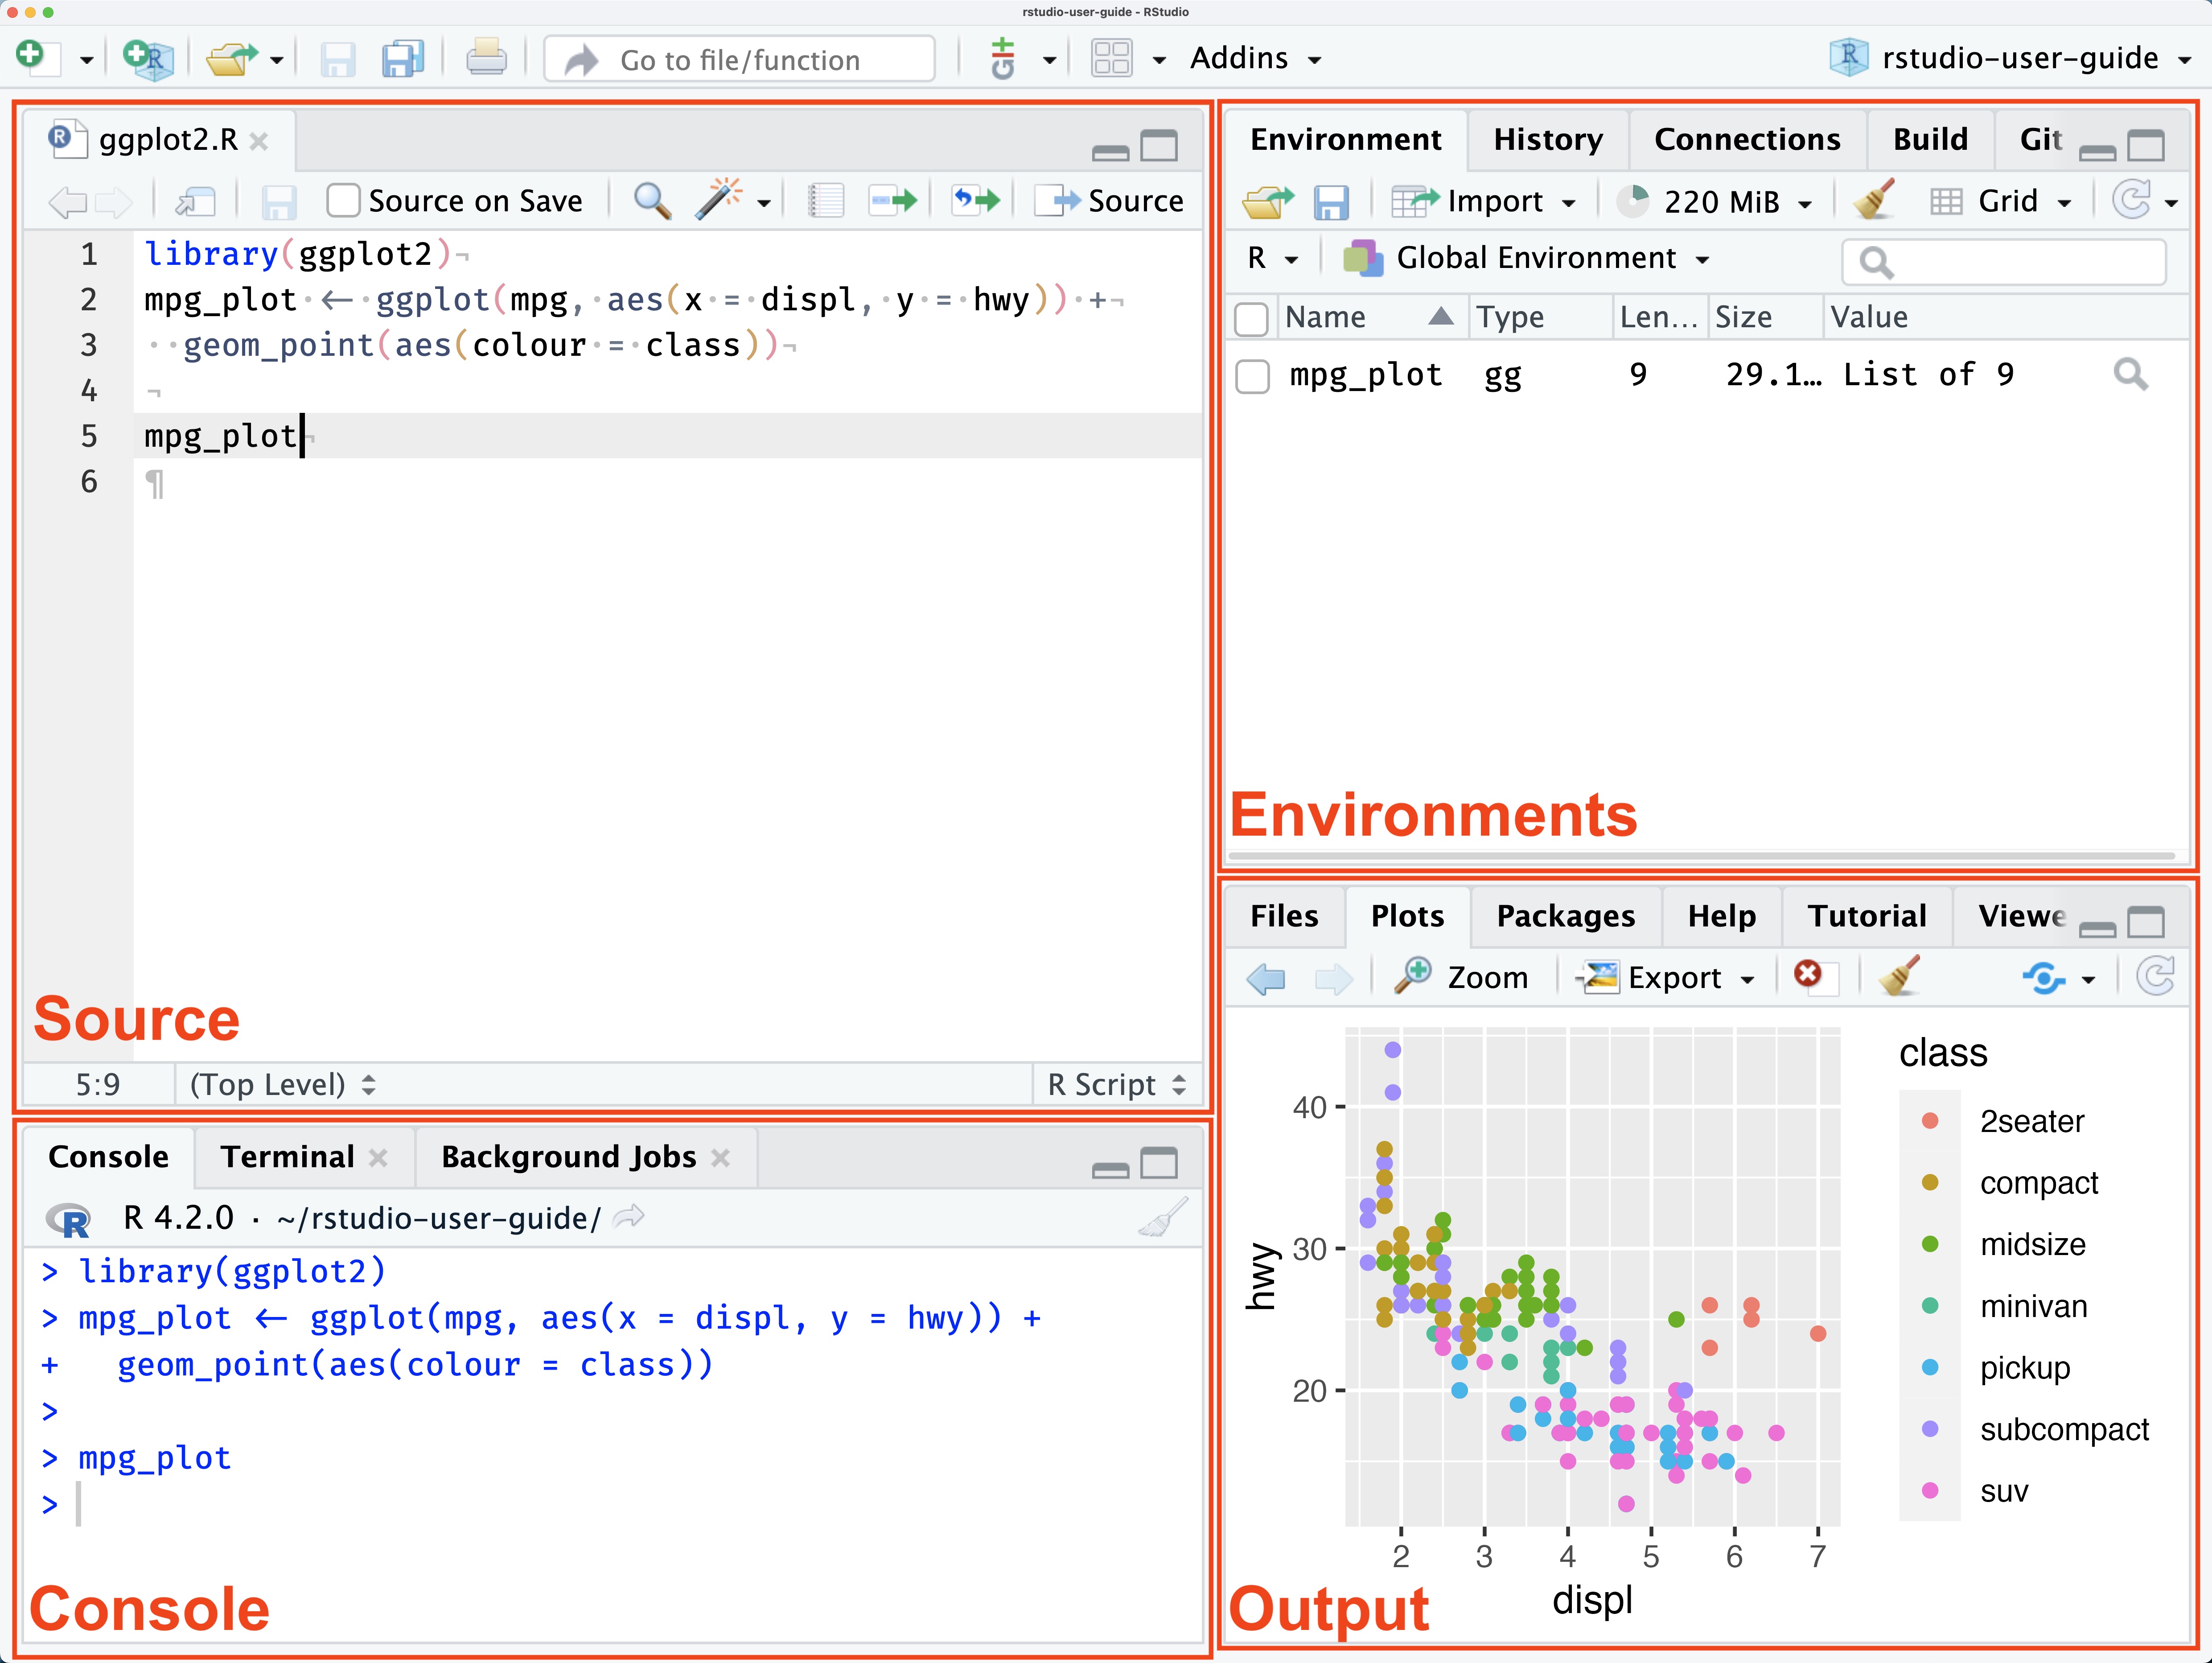
  • The Source pane is where you can edit and save R or Python scripts or author computational documents like Quarto and R Markdown.

  • The Console pane is used to write short interactive R commands.

  • The Environment pane displays temporary R objects as created during that R session.

  • The Output pane displays the plots, tables, or HTML outputs of executed code along with files saved to disk.

  1. In the console, type: ```r version This will display the installed R version.

Try a simple command

10 + 10
[1] 20